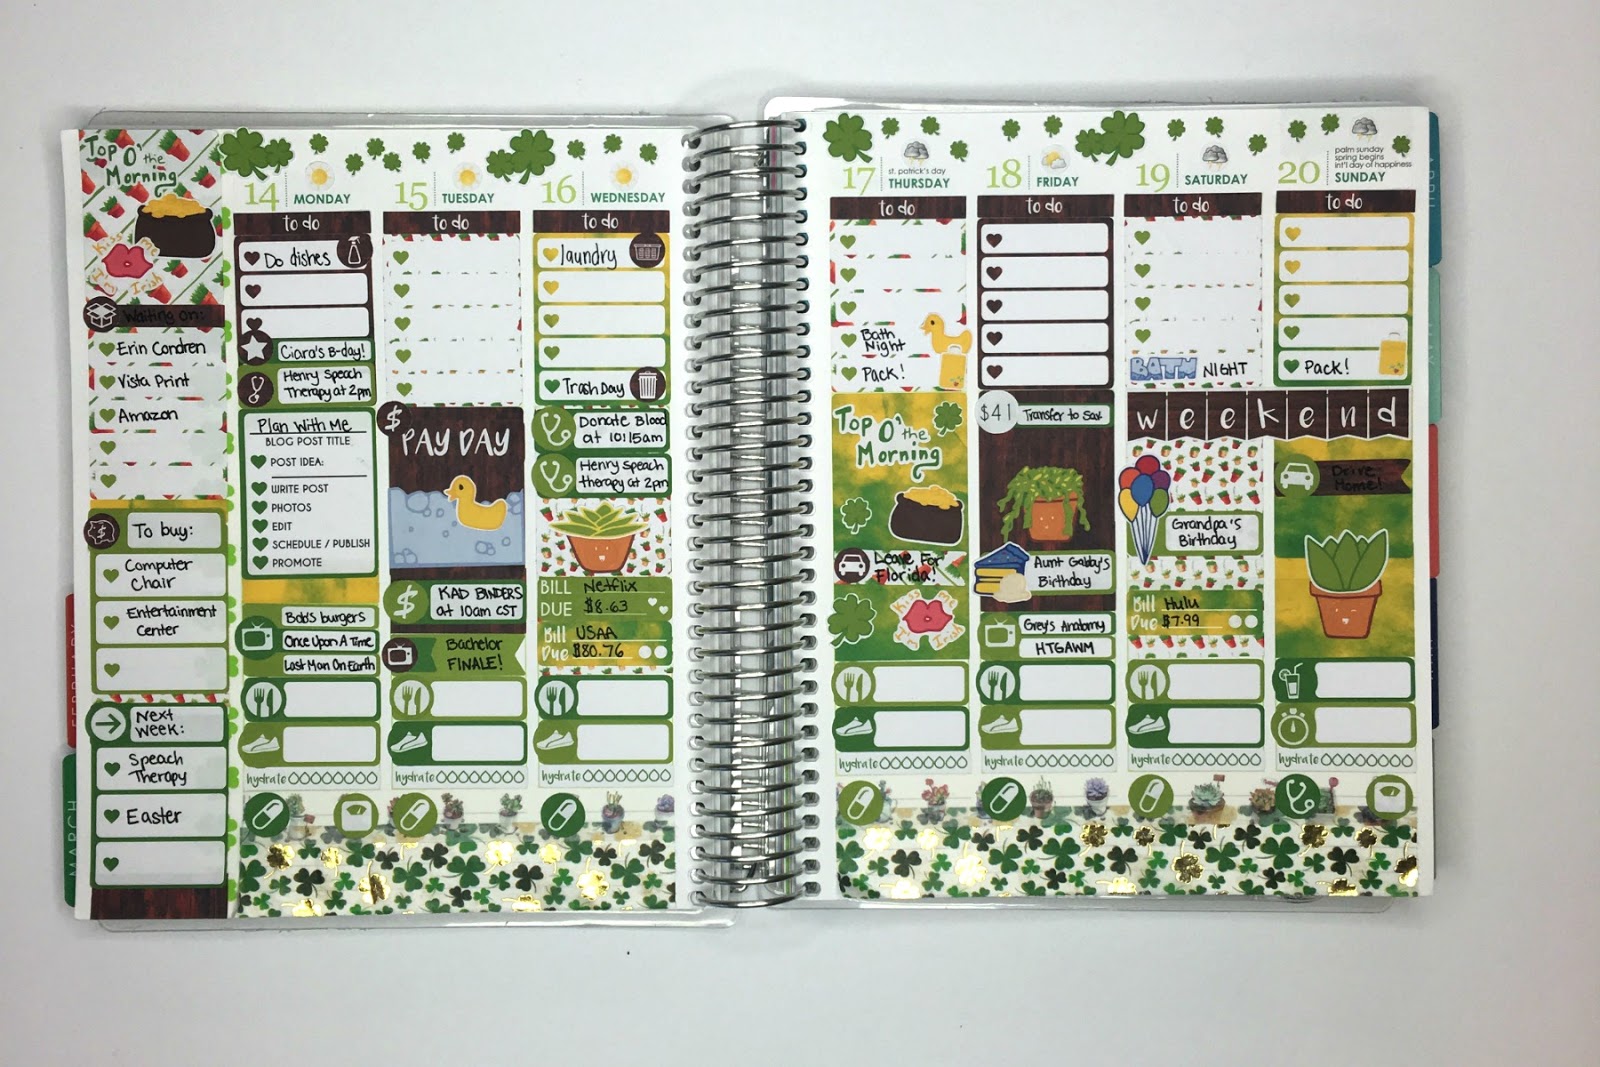
Today I am going to share with all of you how I used the March PopFizzPaper planner kit to plan for this week! Watch the video below to see my entire process of planning.
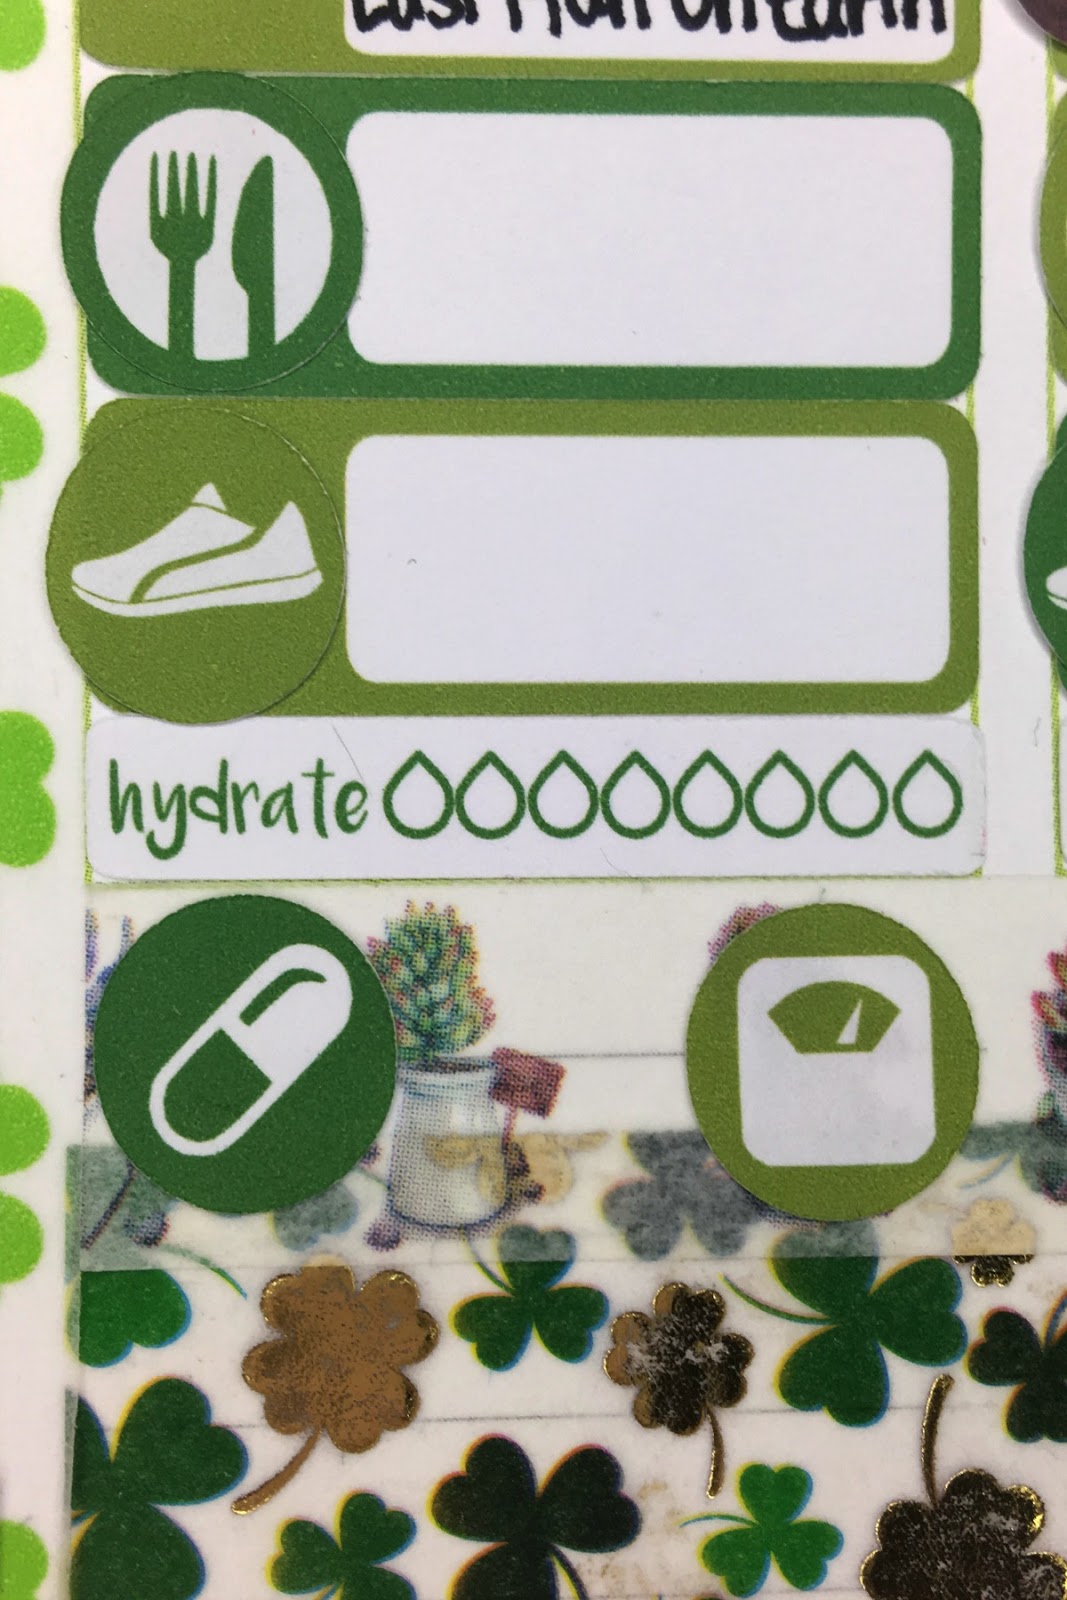
One of my favorite parts of this weeks spread was how I was able to layer all of my health related items. I'm so glad PopFizzpaper has so many different options to fit everyone's needs!
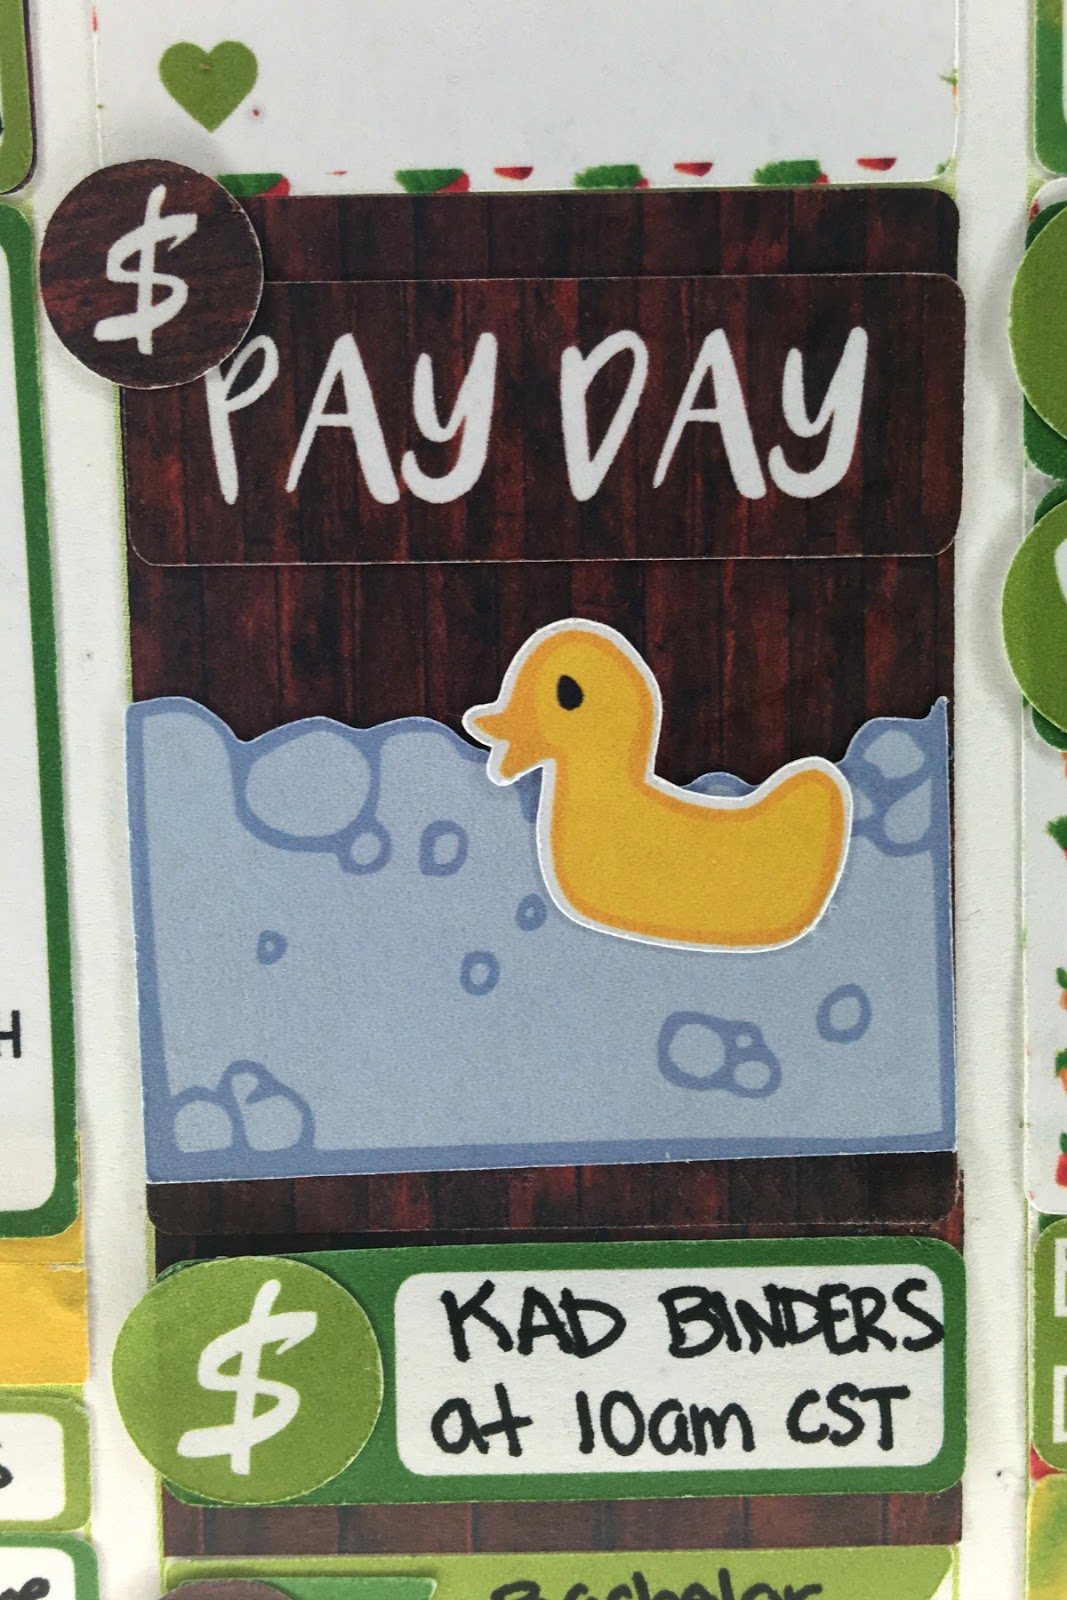
Another one of my favorite parts from this weeks spread is the bath stickers from PopFizzPaper. The bubbles fit perfectly into the size of the Erin Condren box. And layering the duck in the bath just made it extra cute!
My final favorite part of this weeks spread was how I added all of the clovers that came on the holiday sampler to the top of the page. It added some much needed decor and looks super cute!
I am so happy with how this week turned out! Every single sticker is from PopFizzPaper and I think that is pretty cool. Let me know in the comments what theme you went for this week.
Hi everyone, it's Diana here taking over the blog again today. I'm going to be focusing on stickers for our monthly spreads today. A lot of us have found our grooves with our weekly planning, but I know many of us still struggle utilizing our monthly spreads. PopFizzPaper has created an amazing new line of stickers that just may be the solution you are all looking for. It has made using my monthly view so much less difficult.
With the combination of the newly released skinny appointment stickers and the new icons stickers, it's a winning combo for my monthly spreads.
Here are just a few ways on how I use these amazing stickers to spruce up my monthly layouts. If your using an Erin Condren planner, look how perfect these stickers fit in a monthly box, even when layered. I love to layer the two stickers together to mark my appointments, but hate for them to go outside the lines. You won't have to worry about that with these perfectly sized stickers.
Or, you can go with the classic style of using an appointment style sticker as shown below.
I even love using these sticker outside of my monthly spreads and in my regular spreads in place of your typical 'to do' stickers. The sizing is just perfect!
PopFizzPaper even created a great new generic icon set so you can mark any occasion with. These generic icons are perfect for marking those special dates and appointments that don't have specific icons created for them.
Cards are expensive at any store. Creating your own is a great way to send a personalized card to anyone. The March PopFizzPaper Planner Kit had some hand-created journal cards. I decided it is a great kit to make a personalized card with and send to a friend. I started by gathering my supplies. I chose to use as many of the products that I could from the kit. Then added a few of my own supplies to make this card.
I began by selecting the Natural Beauty information card that came in the kit. This would be the background for my card front. I cut the card stock into 5.25" x 4" to fit on a card base of 5.5" x 4.25". I took the journal card with the green stripes and wood grain and cut along the diagonal. These two pieces would be a part of the card front and the inside of the card.
I selected a natural colored piece of card stock from my stash and cut a small strip for my front sentiment. Then I cut another piece 5.25" x 4" for the inside. I placed the green striped journal card piece on the natural card stock and stamped the sentiment "Thinking Of You" on the bottom. The stamp messed the word "You" up, so I decided to use a green page flag from the Planner kit and stamp and cover my mistake. I left room to write, glued it to the inside of the card base, and the inside of the card was complete.
The wood grain journal card piece became part of the front of the card when I placed it over the Natural Beauty card stock. I began the front by using the strip of natural colored card stock and stamping my sentiment. I "flagged" the end, creating a banner. I used the Washi tape, that came in the kit, and added some to that banner. Popping it up with foam dots, I placed it on the front to the left side. One of my favorite sheets in the March kit is the " Create your Own plant" sticker sheet. I selected a pot and a plant and used some of the "washi" strips from the kit to create a new element on the front of the card. It is my favorite part of the card. :) I added a few sequins and beads, that came with the kit, to complete the front and it looked amazing!
This card turned out as one of my favorite projects yet. It was made using elements of the March PopFizzPaper Planner Kit. Next time you need a quick card, use what you have. Create something and give a piece of you in your art. I am no expert card maker but this kit made it easy to create something wonderful and meaningful.
If you know anything about my style, even just by reading this blog, you know that I tend to go a little overboard in my techniques and embellishments. After receiving the March kit and it being a nature theme, I knew that I had to do something a little more "organic" and not so overworked but also something that still represents my style. With that I introduce you to my "Natural Beauty Pocket Letter":
My main focus was to highlight the papers but still keep the integrity of my style. I pulled other elements from this kit as well as previous kits, like this "Live life out loud" rub on from the January kit.
Layering washi, ripping it to add a bit more jazz or even manipulating the shape is an quick and easy way to add a little more interest to your cards. But also, can we talk about that wood grain paper?
Another awesome thing about paper is that it doesn't need to be just paper. For instance, the sticky notes. They don't need to be just sticky notes. I laminated them, glued them onto a paper clip and made a customization paper clip. I took it a step further, however, and added a little flower made from other elements in the kit and glued it to the top of the pocket letter. The flower and paper clips sit just right so that it just looks like a flower with leaves!
I really enjoy how this pocket letter turned out. I hope this blog helped you figure out new and interesting way to use the items in your planner kit!
Flip books have become the new "thing" in the crafty/pen-pal world. A flip book is created when you attach pieces of paper or card stock together with Washi tape to create flipping pages. I created one using PopFizzPaper Journal Prompt stickers. I used some left over paper that I have had in my stash for a long time.
Using some Washi and paper, cut down to what ever size I wanted to use, I created some panels that flipped vertically and horizontally. I decorated the panels first and added bits of torn paper and some small journaling cards that I had. Then I selected some of the PopFizzpaper Journal prompts and added one or two to the panels, leaving space to write my answers.
I also used some of the other stickers that PopFizzPaper has for even more inspirational journaling. These are a great way to write down what you are doing right at that moment. I based mine off of what I have enjoyed so far in 2016.
I used a pink envelope ( attached with Washi tape) to create another space for a journal prompt. I used a scrap of paper to write my letter of self-love and slipped it inside the envelope. This is a great way to also store bits that you want to keep, such as tickets or other memorabilia from something you loved or did.
Choosing which prompts to use was the hardest part. So many amazing suggestions. Some have prompts to make you think really hard. Some of the answers are easy and make you smile when you know immediately what you are going to write. I enjoyed creating this project. Try it out and tag @popfizzpaper on IG. We would love to see your Journaling Flip-Books or any other projects you create using PopFizzPaper products!!
If you’re like me and like to use every piece from the PFP planner kit, I have a project for you. I am going to show you how to repurpose your information card into an adorable donut (or even Valentine’s Day) greeting card. If you don’t have the information card, or already used it, the regular paper from the kit works just fine too.
Let’s get started with our supply list. You will need:
— 1 cardstock piece measuring at 8 x 6 (folded in half to 4 x 6) — your information card (I cut mine down to 3.5 x 5.5 with a 2.5 x 3 window cut out. I used my silhouette but I kept it a rectangle so that it could be easily done with an xacto knife or scissors — a piece of acetate or even a plastic sleeve cut into a 3 x 3.5 square — confetti, sequins, sprinkles, seed beads, whatever you want to put into your shaker — some foam tape or squares — washi, ink and sticker decorations optional
The first thing I did was glue my acetate to my window piece. I used the tombow mono liquid aqua glue because it made it easier to be able to move it around before it dried (side note, it would have been easier to ink the card before I did this part but forgot because I was too excited for sprinkles).
Because I like to ink the sides of things to give them more dimension, I inked the outside of the card as well as the inside of the frame with a purple ink (this was included with the October PFP planner kit). It didn’t dry very fast so it did get ink everywhere but it just gave it more character.
To make sure that the little shaker bits actually shake, you have to add dimension to the card. For that, I used the tombow foam tape. You can also use foam squares. For the outside of the window, I cut the tape in half to make it thinner and then put thicker strips at the bottom. Make sure that the square part is really tight though so that whatever you’re shaking in there doesn’t fall out.
I gathered everything I wanted to put into the shaker part into one area of the actual card. I included the sequins from the rosie_plans extra in the February kit, sequins from my personal stash and even real sprinkles. Once I have collected those, I put the top piece over it, just to make sure they will fit. Then turn it around and press firmly to secure the shakers in the window.
I decorated the front by layering some glitter washi (all from the popfizzpaper store), donut stickers, a “the sweet life” sticker and some rhinestones to add some bling.
Add a little note inside, stick it in an envelope and send it (or hand it) to your favorite person!
Soon as Dani showed me the papers for February's kit I knew I needed some Midori style inserts made from them. I love My traveler's notebook so much and carry it everywhere and go through a lot of inserts. So today I have show you in a few basic steps how to make your own notebook.
Starting out I chose the paper I'd like to work with and so inside paper. I want to make a sketchbook of sorts for doodling PFP ideas when I'm out and about so I just grabbed one of my sketchbooks, a ruler, my paper trimmer and some sewing supplies as I prefer thread bound notebooks over staple bound.
Next I cut both the donut paper and the sketch book paper to 22cm x 21cm. 21cm is the height of the notebook. Midori notebooks are not quite square but close, I think if I were to do this again I would just make the notebook 22cm square and have the notebook a bit wider.
Making sure the papers are in the right orientation I simply folded them in half, and was ready for the next part of the binding.
This is where it gets tricky, time to make a binding template. A binding template ensures that you are punching the holes in the same place everytime. So you need a thin strip of paper the height of your notebook and fold it in half like you did the pages so it's still tall but thinner, then unfold it and fold it in half the other way and then in half again. In the end you should have a piece of paper that has three intersecting points evenly placed, mark those intersections with a dot.
Using a awl or a sewing pin you want to pre punch all of your papers and your cover. The easiest way to do this is going 2 or three papers at a time and putting their fold in the spine of an old book (phone books work great for this). putting your template in the fold just punch each of those three marked spots on all your papers and cover.
Next I used a basic pamphlet stitch which can be found in countless youtube videos, making sure to end with my threads on the outside and tied them very tightly. Now you could leave it like that OR I like to make it a bit more secure and run some washi down the spine. I added some simple decorations and then this note book was done!
I hope you enjoyed this sort of tutorial, and let us know what you did with your papers from the February kit!
Today I am going to teach you all how I created a donut themed pocket letter using mainly the supplies that came in the February PopFizzPaper planner kit!
First thing you need to do is gather your supplies. Here is what I used:
Cardstock or craft paper (in this case I used the paper that came in the planner kit)
9 slot baseball card holder
Stickers (again I'm using the ones that came in the kit)
Washi tape (the purple one is from the kit and the rest are ones I thought would match)
Sequins
Rhinestones (also from the kit)
Tape runner
Any extra ephemera or embellishments you may want to use.
Next thing I did was draw out the size I wanted the papers to be and I measured it out with my ruler. 2.5 inches wide by 3.5 inches tall. It might be a little hard to see on the sprinkle paper, but in person I could see it just fine. After that I placed my paper on my paper trimmer and cut all of the sheets down to size.
I decided to hang onto the scraps in case I wanted to use them in the pocket letter. Next comes the hard part. Choosing which papers you want to go in what pocket. These are the ones I picked and how I decided to lay them out.
Here is how the first pocket came out looking. I added a piece of scrap paper and cut the ends to make it look like a flag. Then I added a heart sticker from the sticker sheet that came in the kit to the corner. I also added some alpha letters to label what I was putting in that pocket.
This next pocket turned out to be one of my favorites! I did the same thing as the last one for the scrap piece but this time I only cut one end. Then I added a donut sticker on top of the flag. At the top of the card I added layers of washi tape and cut all of the ends into flag shapes. Then I took a scrap piece of a sticky note and cut it to look like a flag so I could layer some alpha letters on top and you would still be able to read it.
This next pocket I kept fairly simple with the giant sticker. I just added a small bit of washi and cut it into a flag shape. I also added more alpha letters to label what this pocket would hold.
I experimented with ink for this pocket. I tore off this donut checklist from a sticky note pad and inked the frayed edges so it would stand out against the background. I also layered some washi underneath to help make it stand out from the pink background. Then I added a sticker to the side that says donuts.
This next pocket I kept really simple. I just added rhinestones to the outside of the pocket inside in the donut holes of the paper. I love the paper that came in this kit so much so I thought it deserved to really stand out! Here is what it looks like inside the pocket.
For the center pocket I made it a shaker pocket! All I did was stick the paper I wanted inside and then added sequins on top of the paper. After that I sealed it with a strip of washi tape.
I continued the trend with this pocket by adding a scrap piece and cutting it to look like a flag. As well as the heart sticker and alpha letters. I also layered some washi tape on the side and cut them to look like flags.
For this pocket I took a long piece of the scrap paper and put it horizontally across the paper and stapled the ends to the original paper. I then cut out a circle on a sticky note pad and inked the edges. Then I adhered it to the strip of scrap paper with my adhesive roller. And finally added some alpha letters to spell out tags.
The last pocket follows along with most of the others. Scrap paper on the bottom cut into a flag shape, heart sticker, and alpha letters for labeling. As for the sticker, it's from the sticker sheet that came with the kit. It was very large so I cut it in half and placed them crookedly on the card to make it look unique. I also added some sequins to the top left corner and added rhinestones in the center of the sequins.
And this is what the final product ended up looking like! I really love it and I hope the recipient does as well. The PopFizzPaper planner kit had so many items to make this that I hardly had to pull from my own stash!
In this video I show what I put behind each pocket.
What did you do with the items from your February kit? Let me know in the comments below!
Today I wanted to show you guys a little project I did using the PopFizzPaper Journalling cards from the January kit. I am not much of a journaler but I loved the colors and idea of these cards so much, I had to use them! Flipbooks have been making their way around the planning community lately and I am intrigued and thought I would try my first hand at one to showcase some 2016 goals, date night ideas and even a little journalling section.
Let's get started by grabbing our materials.
The first step is to lay out your card and bind them together with some washi. This will make them bound sort of like a book. I did it on both sides and left the washi ripped to add a little dimension.
Using some washi and other elements I had in my collection, I created a cover that sort of shows that it is for 2016. Added a "Carpe That Diem" sticker to the cover to show this year means business!
For the inside page, the "goals" pocket, I created a pocket using some of the journalling card and ripping it, adding some chalk ink to the ends for an extra touch. I created a pull card using another journalling card and some washi. Blocking off parts of the stamp with some washi, I inked hearts along the side to show "bullet" points. This can be used to write down your 2016 goals.
The second inside page I made another pocket, added a die cut that says "keeper" and printed out some date ideas, sliding them right in! Now, when you're out of ideas, just pull one out and give it a go!
Now we're getting further into our flipbook and the next 2 pages. Again, making a little pocket with some journalling card and chalk, I slipped in some PopFizzPaper stickers and a little note, explaining what this flipbook was all about and sealed the note with some cute PFP icons! I also created a little "clips" card attaching some shaped paper clips onto some journalling cards.
The next and last 2 pages are meant to be more interactive. Using the "meet cute" die cut, I created a little pocket with the intention of printing out a cute picture sometime in the year 2016, maybe even on one of those dates. Added a #smile sticker because why not? (I slipped some floral die cuts in there to fill the void for the moment).
On the next side I attached note paper a die cut but layered it with a date die cut so that the recipient can write a little bit about their day, possibly the date with the photo!
And there we have it. A different approach by a non journaler using the journalling cards. I hope this post gave you a little bit of inspiration. The items in your kits are multipurpose, sit down and see what you can come up with!


Comments
0 Comments